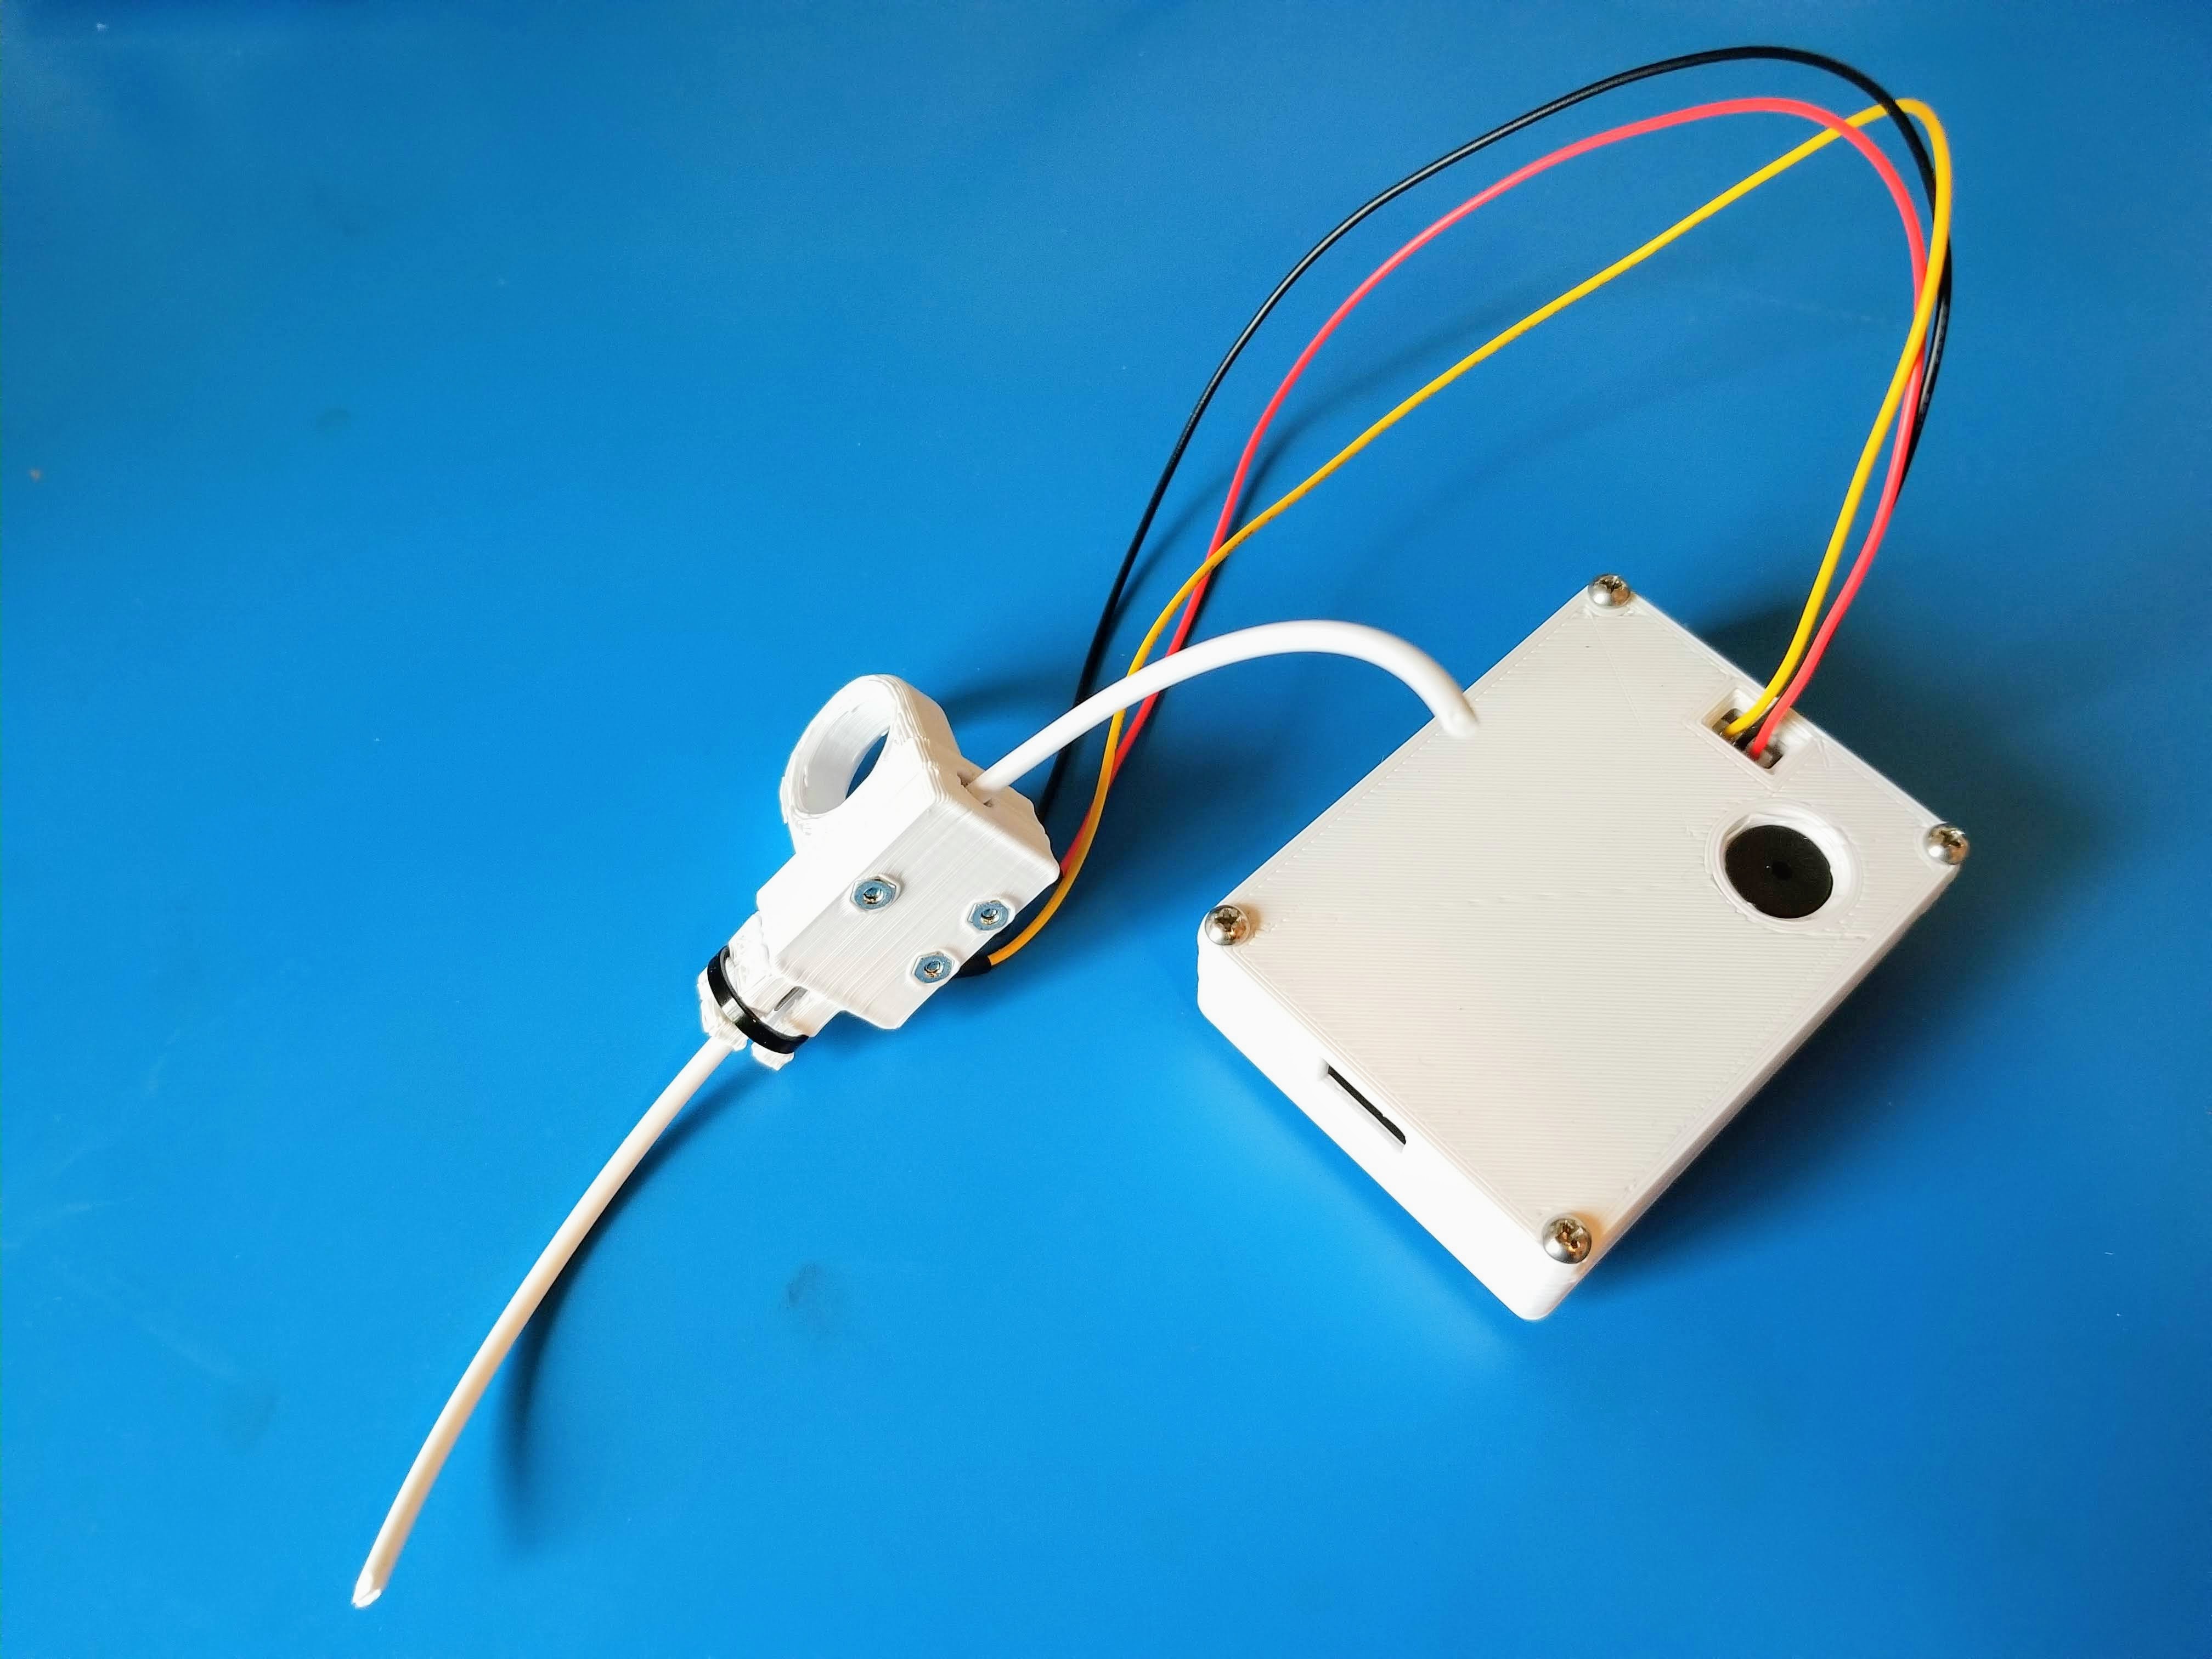
Simple as a button that when released will send an email to the owner of the 3D printer that their printer has run out of filament. Project
requested by Tekbots at Oregon State University for their Lulzbot TAZ 6 3D printers. However, this design sits in-line with any filament and
functions all the same.

The button used was a SPDT switch that rolls along the filament until the filament spool ends, opening the switch. The switch is pulled high with a 10k Ohm resistor and contains hardware and software based debouncing so as to not send multiple emails to the user.
Wemos D1 Mini was chosen due to its availability at Tekbots. The D1 Mini houses a 3.3V Regulator and the ESP8266 WiFi enabled microcontroller. The filament switch was connected to pin D2 of the Wemos D1 Mini, which is connected to GPIO pin 5 of the ESP8266. This was chosen since D2 had interrupt and Timer/Counter/PWM capabilities. This would allow for future upgrades or repurposing. This information was retrieved from Wemos’ website.
Found this wonderful ESP8266 Library while checking out forums when researching the project: https://github.com/xreef/EMailSender Check it out! The EMailSender Class that this library creates is a nice and simple way to communicate over sockets on the port specified in the class (Which is handled by the ESP8266 WiFiClientSecure.h library) Great stuff!
Switch debouncing was a concern for this project. The situation was handled with both a hardware and software approach. On the hardware side there was the classic RC circuit debouncing trick (capacitor will resist a rapid change in voltage) as well as 74HC14 Inverting Schmitt Trigger Buffer which preforms hysteresis on the output from that RC circuit for a quick and seamless transition. See provided schematic and oscilloscope picture for a view of how this turned out. The software debouncing also added to be CERTAIN that the switch would not read false positives. The input is polled twice in a 5ms timespan to be sure that there were no in-human transitions.
The circuit uses an active piezo buzzer to generate a tone whenever the filament switch is not held down. In prototyping for this project, I was not aware of the differences between passive and active piezo buzzers. Yielding a few confused hours thinking every buzzer in my radius was broken. The difference is that the passive buzzer does not have supporting circuity that generates a tone on the buzzer. While the active buzzer has this circuitry built in. So, you only need to supply a DC voltage greater than 4V (depends of your buzzer). An active buzzer limits your ability to generate custom tones, but for the need to generate a noise to alert anyone in the immediate of the filament sensor, an active buzzer worked just fine.
Here’s the GitHub link to the project repository.
Here’s the Thingiverse link to the models created for this project.
Here’s the link to the User Maunal to get an understanding of the state machine and get it working.
Project Links
Article last edited: August 2021