This project was the step up from the 1602A LCD and a continuation of creating more AVR based device libraries. The Nokia 5110 is an LCD screen that uses the
Phillips PCD8544 graphical LCD controller. The LCD controller has a SPI interface to communicate the microcontroller. This graphical LCD is different from the
previous 16 x 2 LCD because the 16 x 2 was designed for text displays. Having ASCII codes loaded into the LCD controller’s ROM and limited space to display
anything much more complex than text. The Nokia 5110 gives a space of 84 x 48 pixels to have fun with. The extra space allows you to create a more usable GUI
and the SPI interface saves you the I/O space and ease of programming.
The Nokia5110.h library allows you to display text and basic graphics to the screen so long as you have the SPI.h file configured to work with your microcontroller of choice. For the demo, I selected the ATtiny26L and utilized its USI (Universal Serial Interface) to create the SPI connection the screen. USI is a feature seen on microcontroller to save on I/O outputs by combining the SPI, USART, and I2C interfaces on the same pins. Took a bit of tinkering but the USI interface work just fine for this application.
 The Nokia 5110 reads from memory LSB to MSB going from Top to Bottom as seen the graphic below. So graphics data being written into the controller must reflect
this or the data will either show up as garbage if written MSB first or be upside-down if written Bottom to Top.
The Nokia 5110 reads from memory LSB to MSB going from Top to Bottom as seen the graphic below. So graphics data being written into the controller must reflect
this or the data will either show up as garbage if written MSB first or be upside-down if written Bottom to Top.
Another detail to note is that the Nokia5110 is recommended to run on 3.3V. Which is not a problem for my set-up but if you use something like a Arduino powered over USB the signaling will be 5V for logic high.
Available functions:
- Nokia5110_init()
- Nokia5110_Reset()
- Nokia5110_Command()
- Nokia5110_SetXY()
- Nokia5110_Noninvert() & Nokia5110_Invert()
- Nokia5110_Clear()
- Nokia5110_Fill()
- Nokia5110_Data()
- Nokia5110_Image()
Nokia5110_init()
//Initialize the SPI Communication and clear the screen
void Nokia5110_init(){
    //Initialize the output
    DDRB |= (1<<DC)|(1<<RST); //DC | RST
    //Set the default values for outputs to zero and inputs to have pull-up resistors
    PORTB |= (0<<DC)|(0<<RST); //DC | RST
    SPI_init(); //Init SPI Communications
    Nokia5110_Reset(); //Hardware Reset
    Nokia5110_Command(0x21);  // Command set in addition mode
    Nokia5110_Command(0xC0);  // Set the voltage by sending C0 means VOP = 5V
    Nokia5110_Command(0x07);  // Set the temp. coefficient to 3
    Nokia5110_Command(0x13);  // Set value of Voltage Bias System
    Nokia5110_Command(0x20);  // Command set in basic mode
    Nokia5110_Command(0x0C);  // Display result in normal mode
    return; //Return to call point
}
Nokia5110_init() will initialize the given I/O signals to control the DC and RST signals and initialize the SPI interface. The reset signal is sent to the device and the configuration commands are sent.
Nokia5110_Reset()
//Reset the display
void Nokia5110_Reset(){
    PORTB &= ~(1<<RST);
    _delay_ms(100);
    PORTB |= (1<<RST);
}
Nokia5110_Reset() pulses the reset signal on the controller. Resetting the system.
Nokia5110_Command()
//Send a command to the display
void Nokia5110_Command(char byte){
    //Set DC to zero to indicate a command
    PORTB &= ~(1<<DC);
    //Enable the SPI Line
    SPI_Enable();
    //Transfer the byte of data over
    SPI_Transfer(byte);
    //Set the DC pin to high to indicate data operation
    PORTB |= (1<<DC);
    SPI_Disable();
}
Nokia5110_Command() sends a command byte to the display by pulling the DC pin low (indicating the byte to be send will be a command) and sending the byte over the SPI line.
Nokia5110_SetXY()
//Set the column and row location of the cursor
void Nokia5110_SetXY(char x, char y){
    x = (x % 84);
    y = (y % (48/9 + 1));
    Nokia5110_Command(0x80 | x);
    Nokia5110_Command(0x40 | y);
}
Nokia5110_SetXY() sets the cursor location on the LCD to indicate where the device should print data received in its registers.
Nokia5110_Noninvert() & Nokia5110_Invert()
//Inverts the current screen
void Nokia5110_Invert(){
    Nokia5110_Command(0x0D);
}

//Noninverts the screen
void Nokia5110_Noninvert(){
    Nokia5110_Command(0x0C);
}
The Nokia5110_Noninvert() and Nokia5110_Invert() functions will invert the screen so that the monochrome colors flip.
Nokia5110_Clear()
//Clear the display
void  Nokia5110_Clear(){
    SPI_Enable();
    PORTB |= (1<<DC);
    //Traverse the entire area of the screen
    for (int i=0; i<=503; i++)
    {
        SPI_Transfer(0x00);
    }
    PORTB &= ~(1<<DC);
    SPI_Disable();
}
Nokia5110_Clear() will fill the screen with nothing. Clearing it.
Nokia5110_Fill()
//Clear the display
void  Nokia5110_Fill(){
    SPI_Enable();
    PORTB |= (1<<DC);
    //Traverse the entire area of the screen
    for (int i=0; i<=503; i++)
    {
        SPI_Transfer(0xFF);
    }
    PORTB &= ~(1<<DC);
    SPI_Disable();
}
Nokia5110_Fill() will fill the screen with blacked-out pixel groups.
Nokia5110_Data()
//Send ASCII data to the display
void  Nokia5110_Data(char* data){
    //Set the DC Pin for Data Operation
    PORTB |= (1<<DC);
    //Enable Communication
    SPI_Enable();
    int length = strlen(data);
    for (int i=0; i<length; i++)
    {
        for (int j=0; j<5; j++)
        {
            //Send the data
            SPI_Transfer(pgm_read_byte(&(ASCII[data[i] - 0x20][j])));
        }
        SPI_Transfer(0x00);
    }
    SPI_Disable();
}
Nokia5110_Data() will send text data to the screen with the accompanying ASCII.h file. ASCII representations must be written to the RAM of the device since it does not store them itself like the 1602A.
Nokia5110_Image()
//Send image data to the screen
void Nokia5110_Image(const unsigned char *image_data){
SPI_Enable();
PORTB |= (1<<DC);
//Traverse the entire area of the screen
for (int i=0; i<=503; i++)
{
SPI_Transfer(pgm_read_byte(&(image_data[i])));
}
PORTB &= ~(1<<DC);
SPI_Disable();
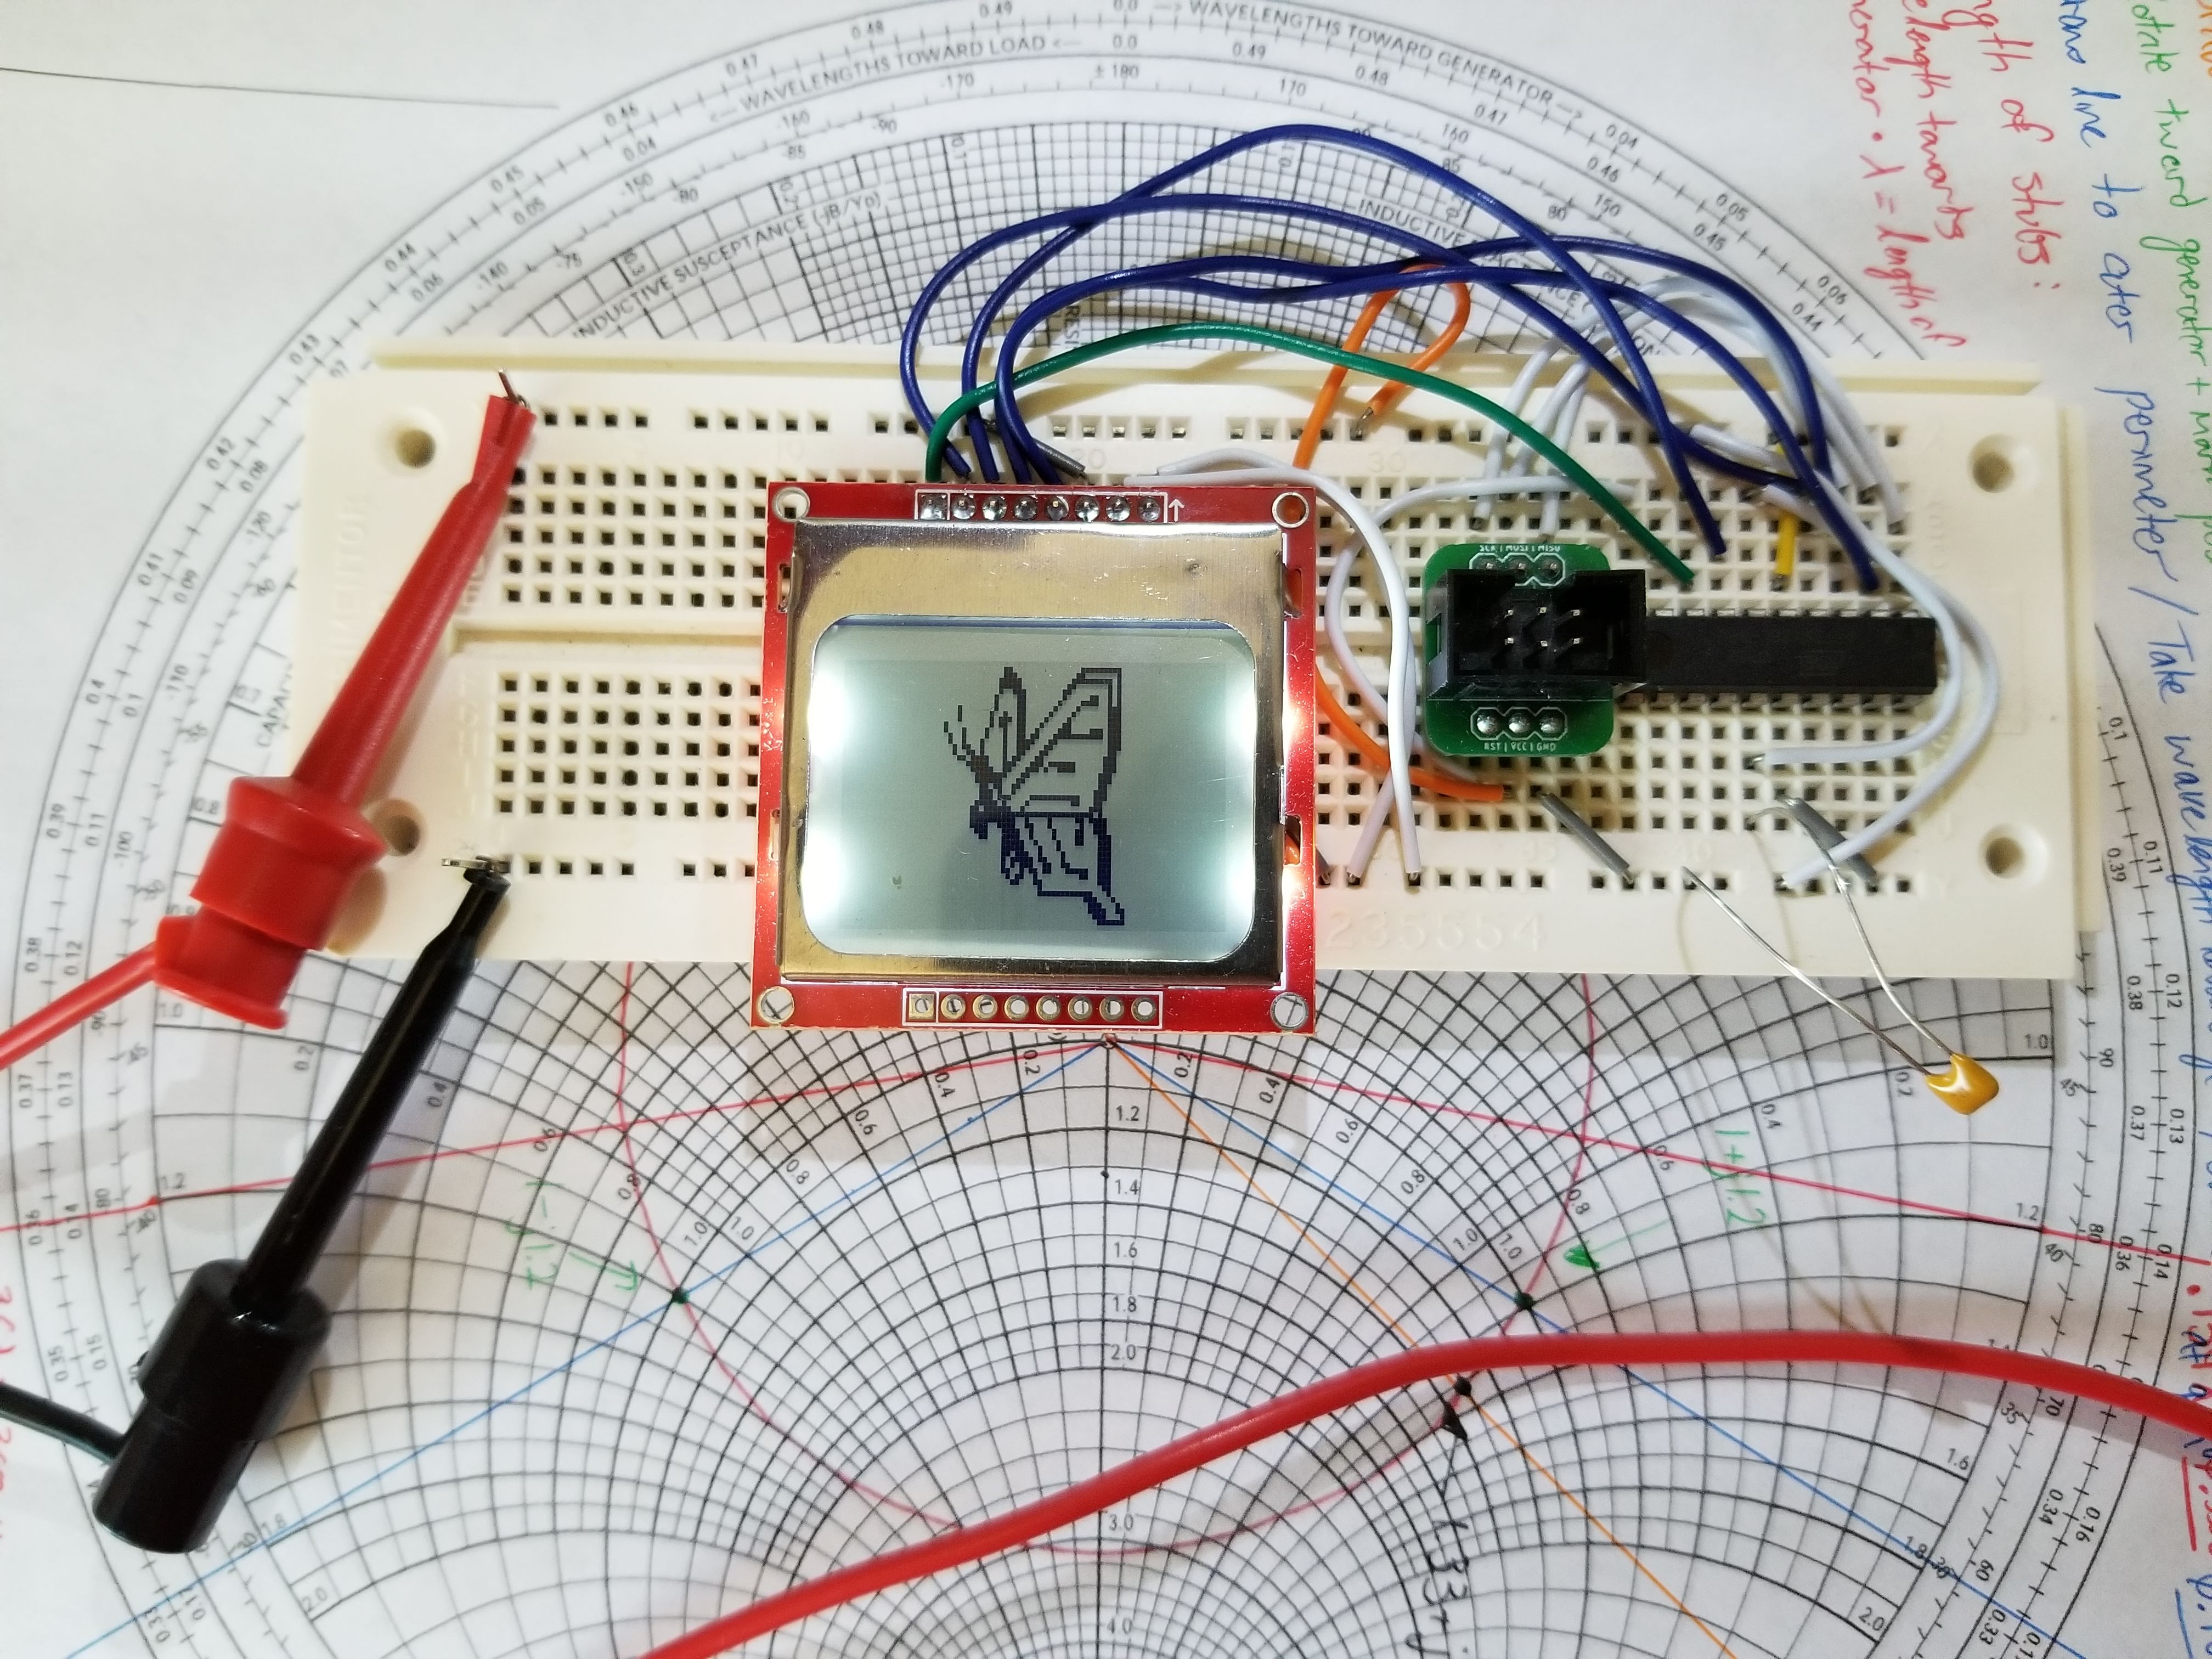
}Finally the Nokia5110_Image() will write image data to the screen. Allowing you to send your custom graphics! My graphics were loaded into the Logo.h and sent over SPI as data.
Thanks for reading this article! Hope this comes in handy.
Here’s the GitHub link to the project repository.
Project Links
Article last edited: August 2021