I have been getting a lot of use out of my Prusa i3 Mk3S! It’s a great machine that makes great FDM models and needs little maintenance compared to the model I had to work with at my job at the Oregon State University Makerspace. I bed level there and nozzle swap there and this printer has had no issues. However, the printer is in open air, meaning if I were to print in a temperature sensitive material such as ABS, ASA, or TPU then I would need to control the temperature of the ambient air to a greater degree then I currently am. This is usually done by placing the 3D printer in an enclosure so that the ambient air stays warm and makes your sensitive plastics less prone to the warping and curling that occurs as they cool.
Given I had gotten a roll of ASA due to its admirable properties of UV resistance and greater tensile strength, I figured it was time to build myself an enclosure.
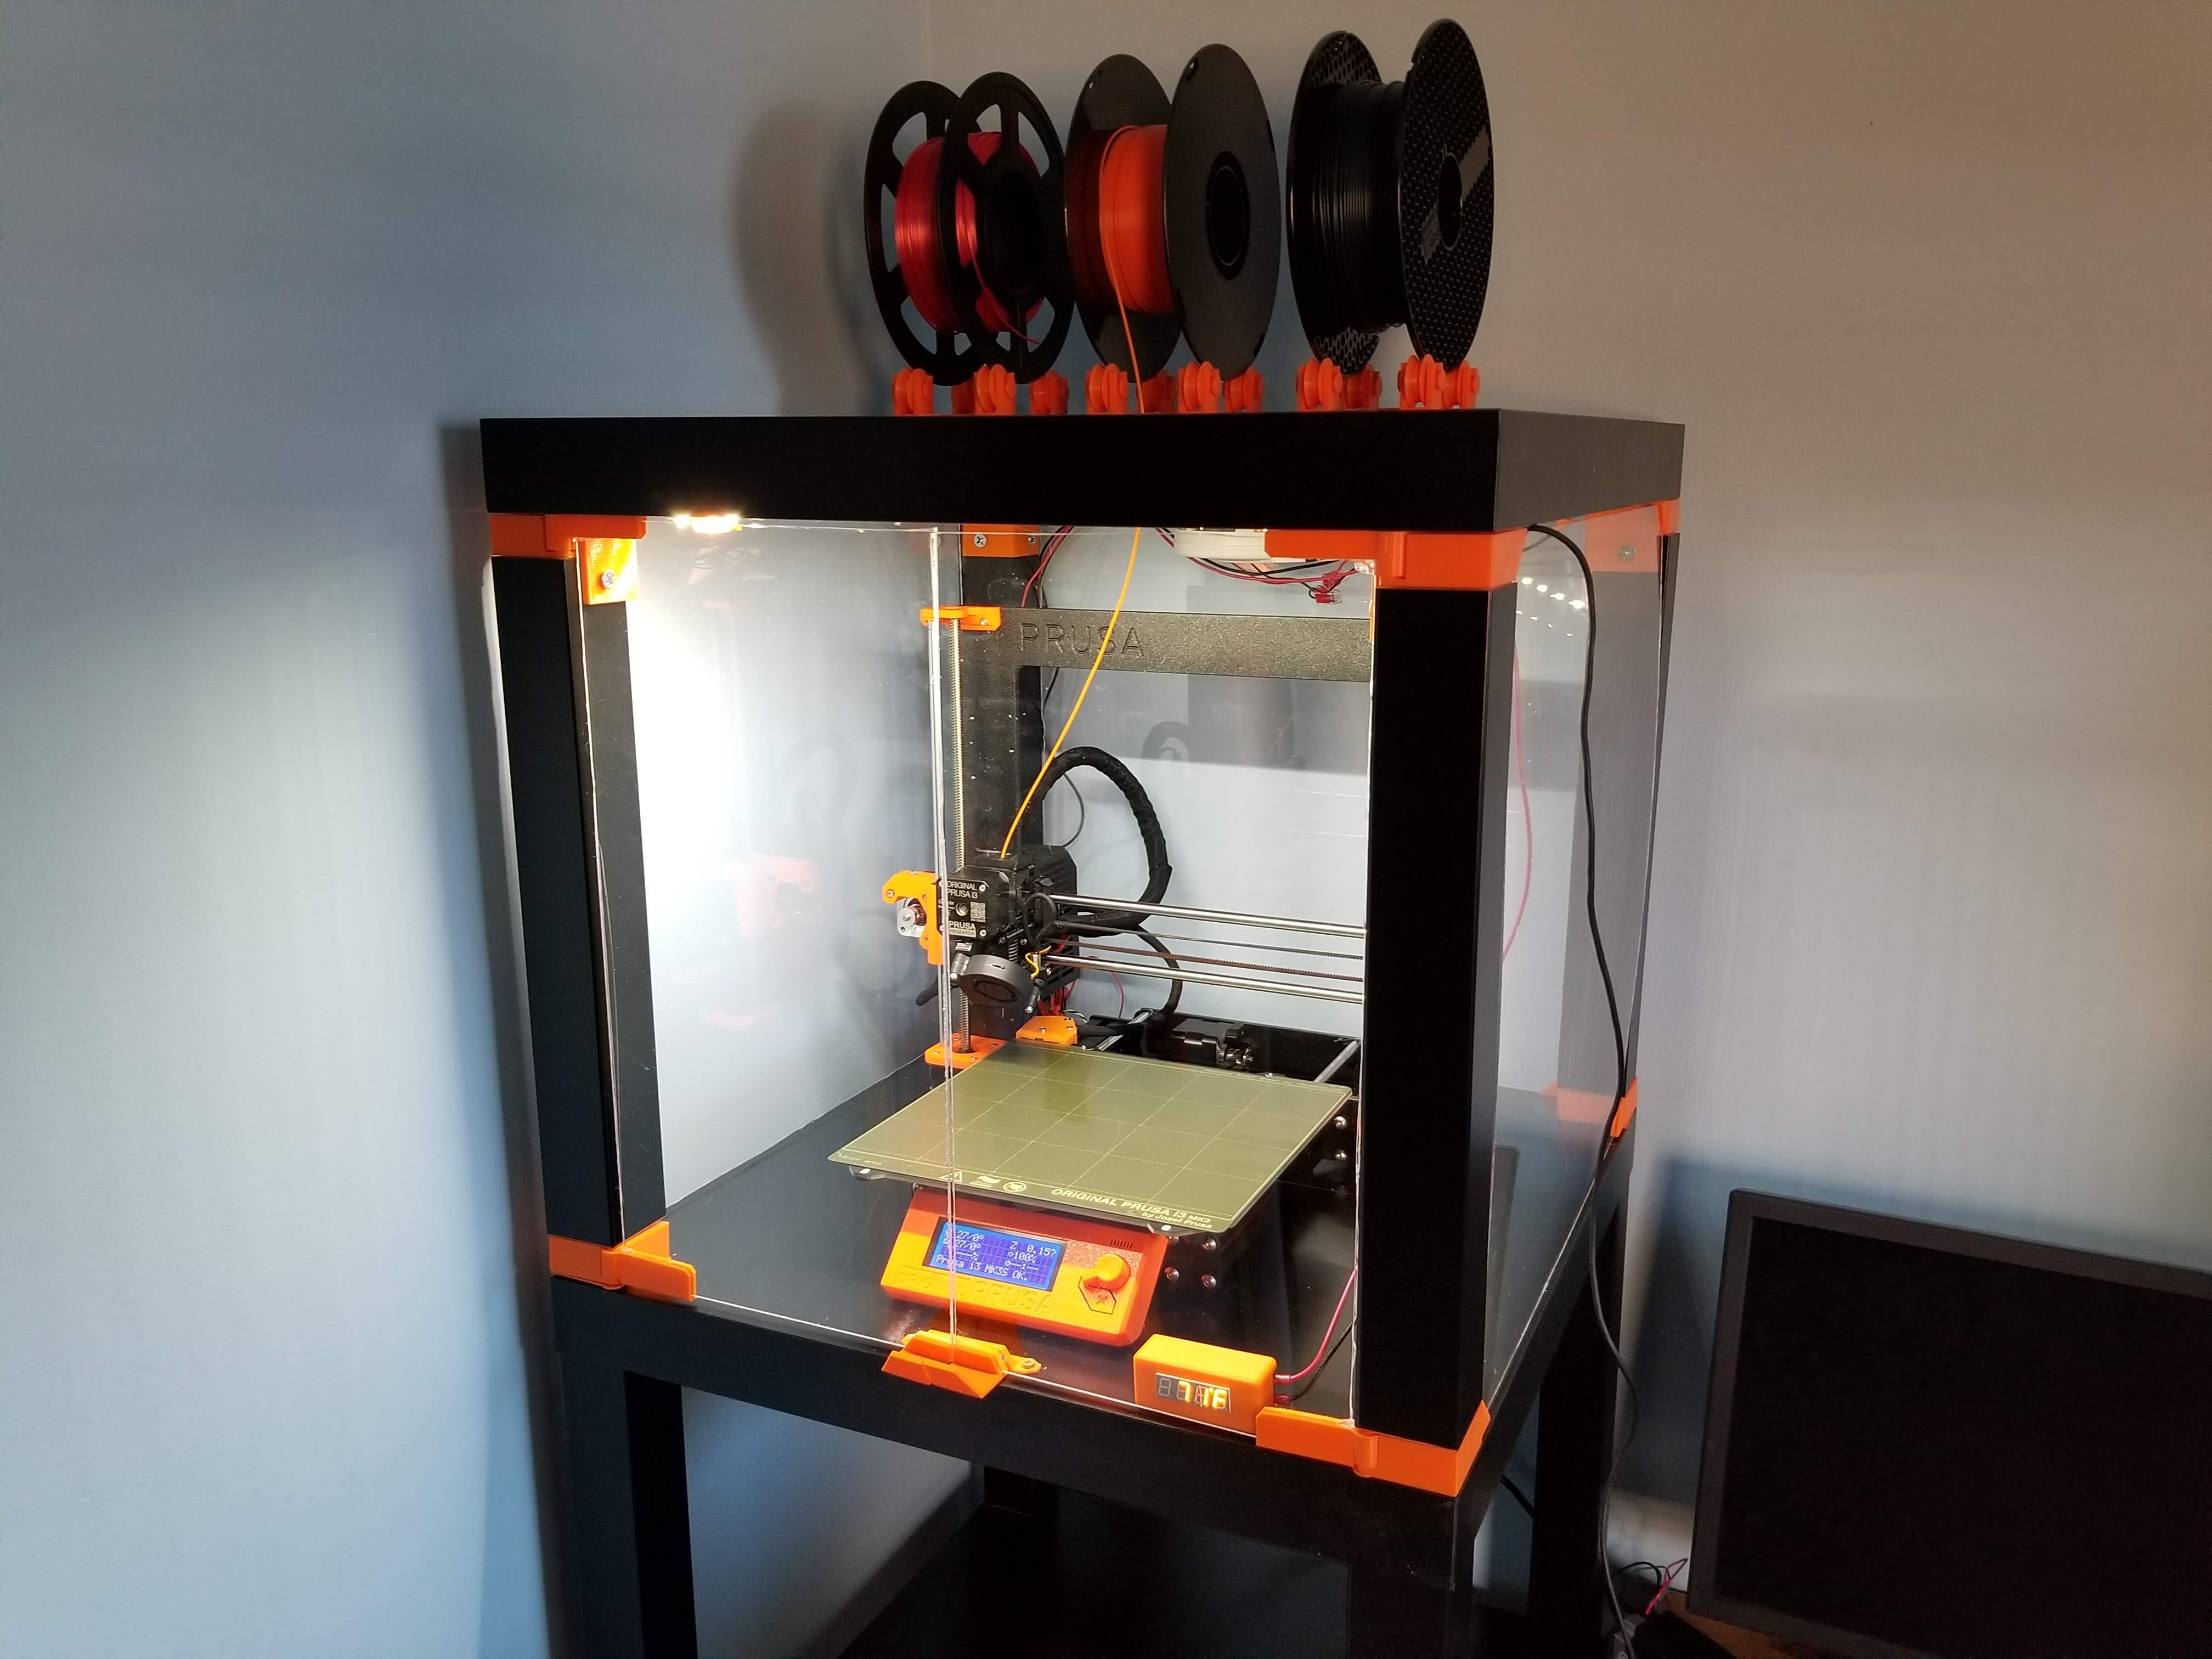
I decided to replicate a classic design in the 3D printing world for the Prusa i3. The Ikea Lack Table 3D print enclosure. I sourced my parts and information on how to build this enclosure from this article on PrusaPrinters Blog.

These Lack tables are cheap at $9 a piece and stack on top of each other perfectly. So, I was able to stack three so the printer would be at chest height and use the middle table as a bench for spare filament rolls, putty scrapers, and maintenance manuals. I printed the parts included in the article from Orange PLA, scored some pieces of acrylic to the size of the walls of the enclosure and installed a fire alarm in the enclosure. I do recommend a fire alarm, even though I trust the safety measures of the Prusa, putting a hot metal bed and nozzle in an enclosure made of that excellent wood particle and glue Ikea furniture didn’t feel right without additional precautions.

With everything together I figured I had to leave my mark on it to make the project my own in some way. One missing component was a thermometer to verify that the enclosure was keeping a higher temperature than the surroundings. I found and older LM335 Linear Temperature Sensor and build an interface around to measure the analog value from the sensor and display it on a beautiful yellow seven segment display.
Determining how to go from analog voltage to digital number for temperature on the display took a few values from the datasheet of the LM335 and the ATmega328P. The sensor has a sensitivity of 10mV/K and needs the be calibrated with a potentiometer to the optimal voltage value for room temperature. Also take note the sensor accuracy of +/-1C and a total range of -40C to 125C, for use as a print enclosure temp sensor that is just fine. The noise we should expect from this sensor is also important to our characterization. From figure 6 in the datasheet we can find the noise spectral density of this component.

The noise spectral density comes in units of $\frac{V}{sqrt{Hz}}$ and as we can see on this plot and by the units used in the calculation of noise, the noise will changed based on the bandwidth of the circuit. The lower the bandwidth the more noise, seems backwards, right? Regardless the circuit bandwidth here is determined by the sample rate of the ADC. The noise units are in the range of nV and given 10mV per degree, most of the noise will come from the quantization noise of the ATmega168PB’s integrated ADC.
The integrated ADC on the ATmega168 is a 10-bit ADC that when paired with a 5V reference, gives 5mV of resolution. $$LSB = \frac{Vref}{2^n}$$.
Once the sensor conditioning and interpretation was settled, the code to support the LTC-4627 seven segment display was written. The display updates each segment based on an ISR timer that prevents the display from flickering.

The enclosure was built up in Fusion 360 and got a solid barrier terminal connector that matched the ones on the Prusa i3 power supply. Once it was working and installed in the enclosure I was pleased with my work and got to test printing.
The firmware, EAGLE schematics, and enclosure files are all in the GitHub repo for this project.
Project Links
Article last edited: August 2021